GLOBAL GUIDE · CHECKED SEPTEMBER 2026
Streaming Microphone Setup: Mic, Placement, Gain and the OBS Filter Chain in Order
By Paul Maji · Updated 26 September 2026 · Research-led guide
The short answer: A good streaming microphone setup runs in one order: pick a dynamic mic if your room is untreated or your keyboard is loud, place it 5–15 cm from your mouth, set gain so speech never clips, then add five OBS filters: Gain, Noise Suppression, Noise Gate, Compressor, Limiter. Distance does more than any filter. Budget $99.99–$299 for the mic (Sweetwater, 24 September 2026) and send Twitch 96–160 kbps audio.
Every streaming mic guide either lists five OBS filters or ranks ten microphones. Almost none of them start with the room, the keyboard and the distance between your mouth and the capsule, which is what actually decides how your streaming microphone setup sounds.
Filters can only clean up what the mic hears. A condenser picking up a mechanical keyboard from across the desk gives Noise Suppression an impossible job; a dynamic mic a hand's width from your mouth gives it almost nothing to do.
So this guide runs in the order the signal travels. Mic choice by room noise first, then placement, then gain, then the filter chain and game-audio ducking, then the bitrate Twitch and YouTube actually accept. Each step has a reason attached, from the inverse square law to the way dynamic and condenser capsules handle a noisy room.
Everything here comes from manufacturer documentation, the OBS knowledge base and platform help pages, each dated where it appears. Prices are exact Sweetwater listings with the date checked, and nothing in this guide was bench-tested; the SetupFind sourcing method explains why.
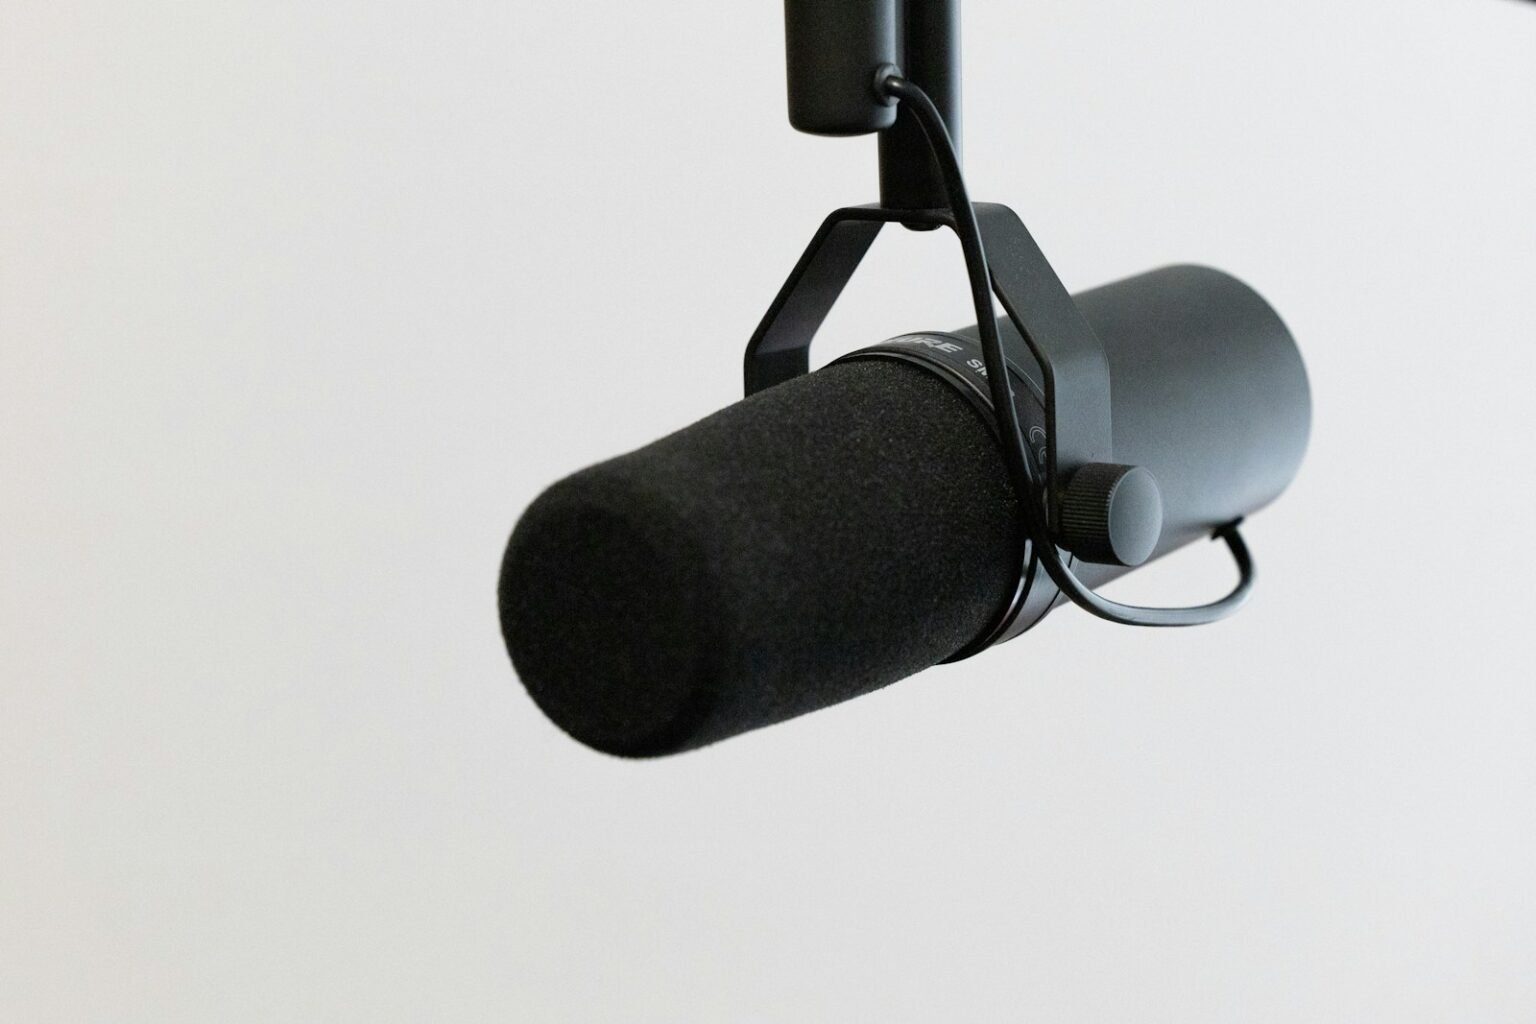
Samson Q2U
Why: A USB and XLR dynamic mic that rejects keyboard and room noise, so it suits an untreated streaming room.
Best for: a first streaming mic in a noisy room.
About $100 · price checked Sep 2026
Your room picks the mic, not the spec sheet
Pick a dynamic microphone if your room is untreated or your keyboard is loud. RØDE says dynamics are less sensitive by design and reject air conditioning, keyboard and mouse noise, while condensers pick up more of an untreated room. A condenser only earns its place in a quiet, treated space.
Source: RØDE's guide to dynamic and condenser mics for gaming and streaming (undated, read September 2026). It's a manufacturer that sells both types, so it has no reason to favour either, but it gives no measured rejection figures.
The connection is a second decision in a streaming microphone setup, not the first. USB is simpler for one voice; XLR leaves room to upgrade. The trade-off is covered in XLR against USB microphones, and two of the four mics below do both.
| Microphone | Price (Sweetwater, 24 Sep 2026) | What the money buys | Verdict for streaming |
|---|---|---|---|
| Samson Q2U pack | $99.99 | USB and XLR dynamic with accessories in the box | Yes, first mic in a noisy room |
| Rode PodMic USB | $190 | USB and XLR dynamic broadcast mic, heavier build | Yes |
| Shure MV7+ | $299.00 | USB and XLR dynamic with onboard processing | Usually, if you want one-cable simplicity |
| Shure SM7B | $439 | XLR-only broadcast dynamic; needs an interface with lots of clean gain | Marginal for a first setup |
The SM7B's verdict comes down to gain. Shure's SM7B setup guide (7 November 2023) puts its need at around +60 dB, more than many budget interfaces supply cleanly.
Mic position for streaming: distance beats any filter
Think of two people talking in a busy café. Lean in and you hear each other easily over the clatter; sit back across the table and you're straining, however hard the other person tries to speak up.
A microphone works the same way. Your voice is the friend across the table, the keyboard and the fridge are the café, and the mic has no way of telling them apart except by how loud each one arrives. Closeness is the only thing that tips that balance.
The physics is the inverse square law. In a free field, sound drops about 6 dB every time the distance doubles, according to Sweetwater's InSync explainer on the inverse square law (12 June 1997). Moving from 30 cm to 15 cm makes your voice roughly 6 dB louder relative to a keyboard that stays where it is. Real rooms reflect sound, so treat it as a direction, not an exact figure.
That's why the deciding factor in a streaming microphone setup is not the filter but the distance. RØDE suggests 5–15 cm for a dynamic and 10–20 cm for a condenser in the same guide.
Three placement rules
- Close, not central. Keep a dynamic 5–15 cm from your mouth, slightly off to one side so plosives pass the capsule.
- Keyboard behind the mic. A cardioid mic hears least from directly behind, so aim its back towards the keyboard, not its front.
- On an arm, not the desk. A desk stand passes every key press through the wood. A boom arm costs $45.65 for an On-Stage MBS5000 to $129 for a Rode PSA1+ (Sweetwater, 24 September 2026).
If the room itself is echoing, a few soft surfaces help more than any plugin; no-drill acoustic treatment for a rented flat covers what works without damaging walls.
Gain comes first in any streaming microphone setup
Set hardware gain before adding a single OBS filter. Speak at your loudest streaming volume, shouting at a boss fight included, and turn gain up until OBS's mixer meter reaches yellow on those peaks but never red. Gain set too high clips permanently, and no filter can repair a clipped signal.
The gain knob lives on the mic, the interface or in the mic's own app, not in OBS. OBS's volume fader only changes what goes into the stream; it can't undo distortion that happened before the signal reached the computer.
Too little gain is the opposite trap. You end up boosting a quiet signal in software, which raises the noise floor with it and makes Noise Suppression work harder. A dynamic with a gain-hungry capsule, like the SM7B, is where people hit this.
If your mic is USB and you still want more control over gain, using an audio interface with a USB mic explains when that works and when it's wasted money.
The OBS filter order for a streaming microphone setup
A common OBS filter order for a microphone is Gain, Noise Suppression, Noise Gate, Compressor, Limiter. OBS's own January 2022 filters guide explains what each filter does but sets no official order, so this sequence is a widely used convention built on how each filter reacts to the one before it.
The OBS Studio filters guide (updated 11 January 2022) describes each filter's job. The reasoning for the order is about what each stage receives. Five steps.
- Gain. Only if the source is still quiet after hardware gain. It brings the level up so every later filter sees a consistent signal.
- Noise Suppression. Strips steady hum, fan and white noise before anything else reacts to it.
- Noise Gate. Closes the mic when you stop talking. Placed after suppression, its thresholds sit on your voice, not on fan noise.
- Compressor. Evens out quiet and loud speech. After the gate, it can't lift the room noise between sentences back up.
- Limiter. The ceiling. It catches anything the compressor missed so a sudden laugh never distorts.
Right-click the mic in OBS's Audio Mixer, choose Filters, and add them top to bottom; OBS processes the list in that order. Set the gate's open threshold just below your normal speaking level and its close threshold a little lower, then test by typing without speaking.
Keyboard noise that still opens the gate is a placement problem, not a threshold problem. Move the mic closer before raising the threshold further, or quiet words start getting cut.
RNNoise, Speex or NVIDIA Broadcast
Use RNNoise in OBS unless your CPU is already struggling; switch to Speex only then. NVIDIA Broadcast noise removal is a third option, but it needs a GeForce RTX 2060, Quadro RTX 3000, TITAN RTX or newer, 8 GB of RAM and 64-bit Windows 10. GTX cards aren't supported.
The OBS noise suppression filter page (12 January 2022) says RNNoise gives higher quality at the cost of more CPU, while Speex lets you set the suppression level. It also notes that NVIDIA Noise Removal only appears in the filter's method list once the NVIDIA Broadcast SDK redistributable is installed.
The hardware requirements come from the NVIDIA Broadcast FAQ (checked 26 September 2026), which also asks for driver 570 or newer. It runs on the card's Tensor Cores, which is why GTX models are excluded.
| Method | What it needs | Trade-off | Verdict |
|---|---|---|---|
| RNNoise | Any PC that runs OBS | Higher quality, more CPU | Yes, the default |
| Speex | Any PC that runs OBS | Adjustable level, lower quality | Usually, on a weak CPU |
| NVIDIA Noise Removal | RTX 2060-class GPU or newer, driver 570+, Windows 10 64-bit | Uses GPU, not CPU | Yes, if you already own RTX |
| Suppression maxed out | Nothing | Voice turns watery and robotic | No |
Keep the game under your voice, then set the bitrate
Viewers leave when they can't hear you over the game. Turning game audio down by hand works until the first surprise; ducking does it automatically. The OBS filters guide lists this as one of the Compressor's two jobs: quietening one source whenever another makes sound.
Four steps to duck game audio
- Open Filters on the game or desktop audio source, not on the mic.
- Add a Compressor and set its Sidechain/Ducking Source to your microphone.
- Raise the ratio and lower the threshold until the game dips clearly when you speak.
- Set release long enough that the game fades back in rather than jumping.
There are no official numbers for these settings in the OBS documentation, so tune them by ear against a loud game scene. Too aggressive and the game pumps with every word; too gentle and nobody notices it working.
Send the platform the audio bitrate it accepts
The final step in a streaming microphone setup is encoding. The Twitch Broadcasting Guidelines (read 26 September 2026) recommend AAC-LC audio at 96 kbps with a 160 kbps maximum. YouTube's live encoder settings (read 26 September 2026) list AAC at 128 kbps stereo. Setting 320 kbps for Twitch wastes nothing but risks going over its limit; 160 kbps is the ceiling.
The rest of the output settings, from bitrate to keyframes, are in the OBS settings guide for streaming.
Fix the mic before the filters
Three takeaways for a streaming microphone setup that sounds clean. A dynamic mic 5–15 cm from your mouth removes more keyboard noise than any plugin, because distance works on the ratio between your voice and the room. Gain gets set in hardware first, with speech peaking in the yellow and never in the red. Then the filters go on in one order: Gain, Noise Suppression, Noise Gate, Compressor, Limiter, with RNNoise as the default and NVIDIA Broadcast only if you own an RTX card.
Your next decision is the rest of the kit around the mic: camera, lighting and upload speed. The streaming setup guide works through those in the order they matter.
Prices are US retail, checked 25 September 2026, and will change. SetupFind has not bench-tested these products; figures come from manufacturer specifications and named sources, as set out in how SetupFind researches its recommendations. Some links may earn a commission at no extra cost to you (affiliate disclosure).
Straight answers
What order should OBS audio filters go in?
A common order is Gain, Noise Suppression, Noise Gate, Compressor, then Limiter. The OBS filters guide (updated January 2022) explains each filter but gives no official order, so treat this as a convention. It works because noise is removed before the gate reacts, and the limiter sits last as a ceiling.
Should I use RNNoise or Speex in OBS?
Use RNNoise unless your CPU is already near its limit. The OBS noise suppression page (January 2022) says RNNoise gives higher quality but uses more CPU, while Speex is adjustable. Speex is the fallback for older or busy processors.
How do I stop my mic picking up keyboard noise while streaming?
Use a dynamic mic, keep it 5–15 cm from your mouth and point its back towards the keyboard. RØDE says dynamic mics reject keyboard and mouse noise better than condensers in untreated rooms. A noise gate then closes the mic between sentences, but closeness does most of the work.
How far away should my mic be when streaming?
RØDE suggests 5–15 cm for a dynamic microphone and 10–20 cm for a condenser. Closer is better for noise because sound falls about 6 dB each time distance doubles in a free field, according to Sweetwater's inverse square law explainer. Put the mic on a boom arm so it stays at that distance.
Do I need an RTX card for NVIDIA Broadcast noise removal?
Yes. NVIDIA's Broadcast FAQ (checked September 2026) lists a GeForce RTX 2060, Quadro RTX 3000, TITAN RTX or higher, plus 8 GB of RAM, 64-bit Windows 10 and driver 570 or newer. GTX cards aren't supported because the feature runs on Tensor Cores.