GLOBAL GUIDE · CHECKED SEPTEMBER 2026
Streaming Setup for Beginners: Seven Steps From the Kit You Own to Your First Schedule
By Paul Maji · Updated 26 September 2026 · Research-led guide
The short answer: A streaming setup for beginners costs less than most gear roundups suggest, because you probably own the computer or console already. The single purchase that matters most is a microphone. A four-item starter kit (mic, webcam, light, headphones) came to $318.97 at US retailers in September 2026. Work through seven steps in order: audit your kit, test upload, add a mic, secure the account, build three OBS scenes, run a private test, then set a schedule.
Every streaming setup for beginners guide starts with a shopping list. Almost none of them tell you what order to do things in, which is what actually decides whether your first stream happens this week or sits in a basket for a month.
The usual pattern goes like this. You buy a camera, then find your connection can't carry the picture. You finally get noticed, then discover the account needs two-factor authentication before Twitch will let you claim Affiliate. None of that is expensive to fix. It's just fixed in the wrong order.
This guide is built as a sequence rather than a catalogue. It starts with the kit already on your desk, adds one item at a time and ends with a schedule you can hold to. Budget tiers live in SetupFind's guide to what a streaming setup costs, so they aren't repeated here.
Seven steps. Do them in order, and each one removes a reason your first stream could go wrong. Most people finish the first six in a weekend. Only the last takes weeks, because followers and viewers arrive on their own schedule, not yours.
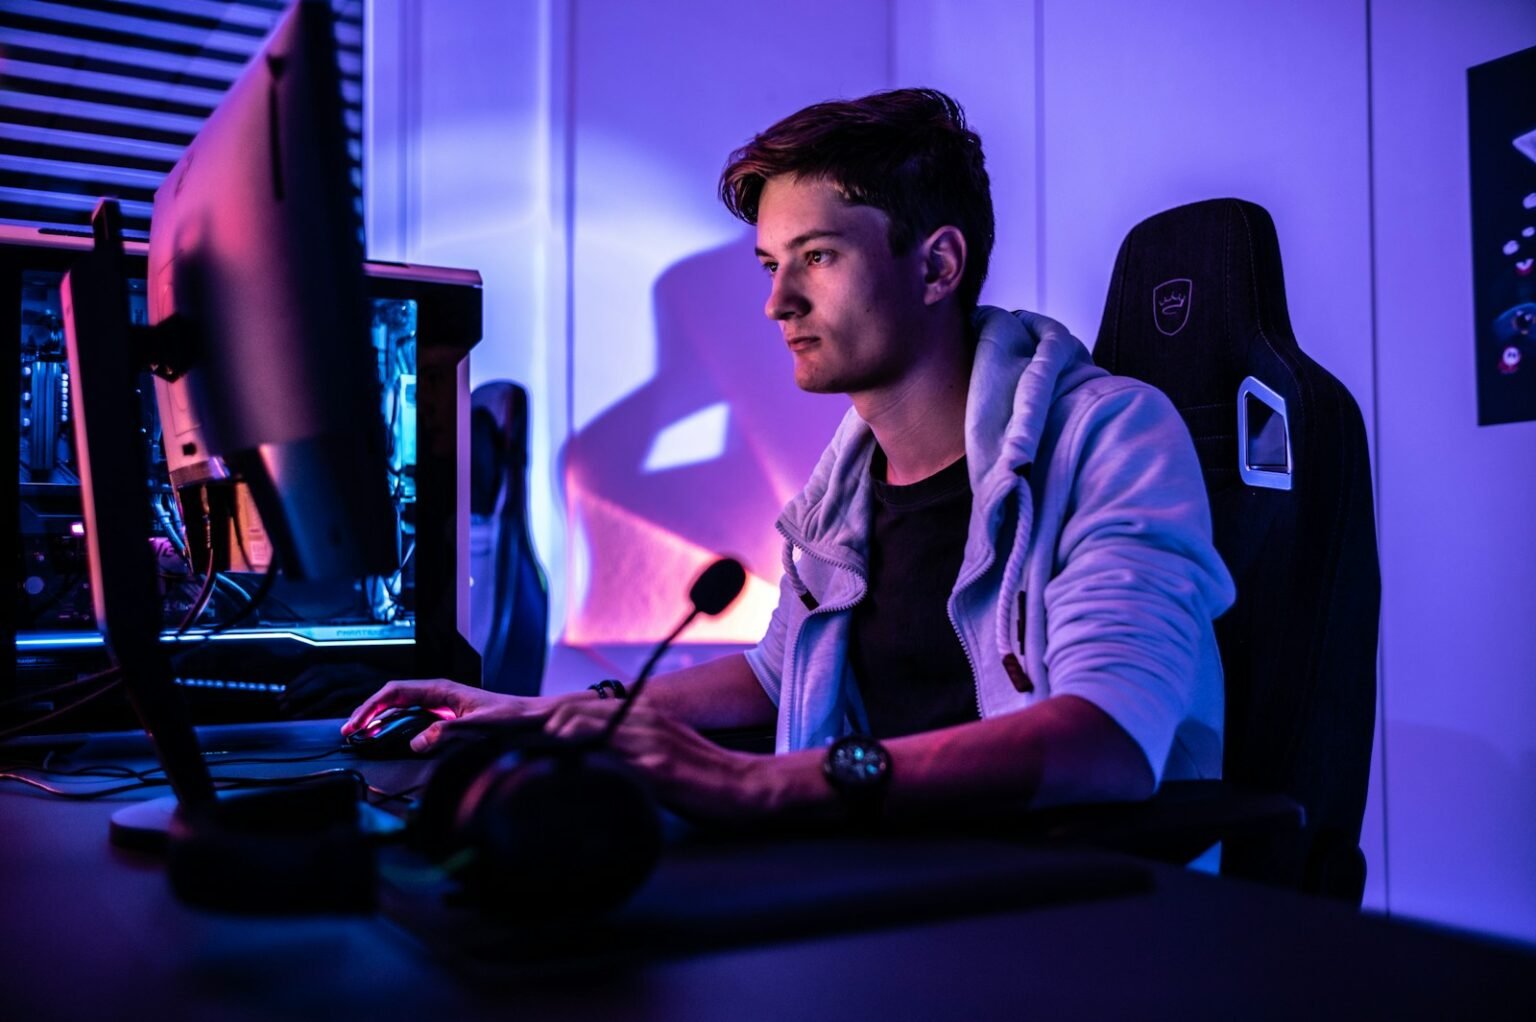
Streaming setup for beginners starts with what you own
Most beginners can go live with a laptop or gaming PC, the headset they already game with and a free copy of OBS Studio. Buying nothing for the first stream is a sound plan, because it shows which part of the setup is weakest before any money is spent.
Treat this step as an audit, not a shopping trip. Plug in what you have, open it on the machine you'll stream from and note what works. Consoles follow a slightly different route, which the console streaming setup guide covers in full.
Four things to check.
| What you own | What to check | Enough to start? |
|---|---|---|
| Gaming PC or recent laptop | Runs your game and OBS together without stutter | Yes |
| Phone | Works as a backup camera or a chat screen | Usually |
| Gaming headset | Mic sounds clear on a test recording, no hiss | Usually |
| Built-in laptop webcam | Face readable in your normal room light | Marginal |
Anything marked Marginal is a candidate for step three. Anything marked Yes stays exactly where it is. A streaming setup for beginners grows from the weakest link outwards, so the audit tells you where the first dollar goes before any retailer does.
Test your upload before your streaming setup grows
Twitch recommends 3,000 kbps for a 720p stream at 30fps and 6,000 kbps for 1080p at 60fps (Twitch Broadcasting Guidelines, read September 2026). Your measured upload needs clear headroom above whichever bitrate you choose, because the stream competes with everything else on the connection.
Run a speed test on the computer you'll stream from, wired if you can, and read the upload figure, not the download. Download figures get the marketing attention; upload is what streaming actually consumes. Ofcom put the average UK home upload at 18.4 Mbit/s in its home broadband performance report (March 2023 data, published September 2023), but that's an average, and older copper lines sit well below it.
The Twitch Broadcasting Guidelines give four common starting points.
| Resolution | Twitch bitrate | Good first setting? |
|---|---|---|
| 720p at 30fps | 3,000 kbps | Yes |
| 720p at 60fps | 4,500 kbps | Usually |
| 1080p at 30fps | 4,500 kbps | Usually |
| 1080p at 60fps | 6,000 kbps | Marginal |
YouTube asks for more: 4 Mbps for 720p30 and 12 Mbps for 1080p60, according to YouTube's live encoder settings page (read September 2026). Start at 720p30 and move up only once a test stream holds steady. The upload check in the streaming cost guide explains how to read the result.
Buy a microphone before anything else
Viewers will sit through a soft picture for a long time. Hiss, echo and a voice drowned by game audio send them away far faster. So the first purchase is not a camera but a microphone, and it's the one item on this list worth buying even if you never turn a webcam on.
A dynamic USB microphone suits a beginner in an untreated room, because it picks up less of the room than a condenser. The streaming microphone setup guide covers placement and gain, which matter as much as the model.
Once the microphone is sorted, here's the minimum kit, in the order to buy it. Prices were checked 24–25 September 2026.
| Item | Listed price | What the money buys | Buy it? |
|---|---|---|---|
| Samson Q2U pack | $99.99, Sweetwater | Dynamic mic with both USB and XLR outputs, plus accessories | Yes |
| Audio-Technica ATH-M20x | $59, Sweetwater | Closed-back headphones, so game audio doesn't leak into the mic | Usually |
| Logitech C920s | $69.99, logitech.com | 1080p webcam with a privacy shutter | Usually |
| Elgato Key Light Neo | $89.99, Sweetwater list | Compact desk key light for even face lighting | Marginal |
| Total | $318.97 | Full four-item starter kit |
Elgato's own store showed the Key Light Neo at $69.99 on 25 September 2026, so check both before buying. If your headset already sounds clean, skip the headphones; if your room has a window facing you, the light moves up the list.
Set up the account before you need it
Twitch requires two-factor authentication before Affiliate onboarding can begin, and YouTube requires a verified channel with no live streaming restrictions in the past 90 days before it enables live streaming. Setting both up on day one stops an account setting from blocking a milestone later.
On Twitch, turn on two-factor authentication in the security settings now. The requirement sits in Twitch's Affiliate Program joining guide (read September 2026). Switching it on the day your Affiliate invite arrives adds a chore to a day you'd rather spend streaming; switching it on now takes a few minutes.
On YouTube, verify the channel from YouTube Studio. YouTube's live streaming help page (read 26 September 2026) lists verification and a clean 90-day record as the conditions, and caps each channel at 10 active streams at once. That cap won't touch a beginner, but it's worth knowing it exists.
Three small jobs finish the account. Write a one-line bio saying what you stream and when. Pick a category you can stick with for a month. Set a profile image that reads clearly at thumbnail size.
Build three scenes in OBS Studio
Think of a small shop on a high street. It has a sign for closed, the shop floor while it's open, and a card on the door that says back in five minutes. Nobody finds those three states confusing, and nobody expects the owner to stand in the doorway explaining them.
A stream needs the same three states. Without them, viewers who arrive early see a frozen game menu, and viewers who arrive while you fetch a drink see an empty chair. In OBS Studio, each of those states is a scene.
OBS Studio is free and open source; version 32.2.2 was released on 14 August 2026. Build these three scenes before you touch anything else.
- Starting soon. A still image or short loop, your music source and the chat. It gives early arrivals something to look at for the first two or three minutes.
- Live. Game or screen capture, webcam, microphone and desktop audio. You'll spend almost the whole stream here, so get the levels right in this scene.
- Be right back. The starting soon image with different text and the microphone muted. It protects you from broadcasting a private phone call.
Encoder, bitrate and keyframe settings are a separate job. The OBS settings for streaming guide walks through them line by line.
Run a private test of your streaming setup for beginners
The first stream people watch shouldn't be the first stream you've ever run. A local recording uses the same scenes, sources and audio mix as a broadcast, it costs nothing and nobody sees the mistakes.
In OBS, press Start Recording rather than Start Streaming, then play for ten minutes and switch between all three scenes. Watch the file back on a different device, with headphones on, before changing a single setting. After that, run one short, low-key broadcast, either an unlisted YouTube stream or a Twitch stream at a quiet hour, to check the connection carries it.
Five things to check on playback.
- Voice sits clearly above game audio, and never clips when you laugh or shout.
- No echo from speakers feeding back into the microphone.
- Face is lit from the front, not silhouetted against a window. The streaming camera setup guide covers framing and light.
- Game capture is smooth, with no dropped frames reported in OBS's status bar.
- Scene switches don't leave a black frame or cut off audio.
Fix whatever fails, record again, and repeat until a ten-minute file has nothing on the list. That usually takes two or three rounds.
Set a schedule around the Affiliate goal
Twitch Affiliate needs 25 followers, 4 hours of streaming, broadcasts on 4 different days and an average of 3 concurrent viewers, all within 30 days (Twitch Help, read September 2026). A fixed schedule of two or three streams a week clears the hours and days within a fortnight.
The hours and days are the easy part. Two 90-minute streams a week gives you four streaming days and six hours in 14 days, comfortably above the published Affiliate thresholds. The hard part is the average of 3 viewers, and a schedule is what builds it.
A regular slot works like a TV listing: people return to what they can find again. Three rules for a first schedule.
- Pick days you can keep for eight weeks. Two reliable evenings beat four you'll drop by week three.
- Put the times in your bio. Returning viewers need to know when to come back without asking in chat.
- Stream at least 90 minutes. Shorter broadcasts end before most viewers have found you.
Treat Affiliate as a checkpoint, not a finish line. The habit of turning up on time is what keeps the channel going after the badge arrives.
What to do after your first stream
Three takeaways. Start with the kit you already own and let a test recording show you the weakest part. Spend the first money on a microphone, because audio loses viewers faster than picture does. Secure the account and build three OBS scenes before you go live, so nothing blocks a milestone later.
The next decision comes after four or five streams: whether the webcam and light earn their place, or whether the money belongs in a better microphone position and a quieter room. Your recordings will answer that more honestly than any gear list. For the wider picture, from cameras to console capture and dual-PC builds, the SetupFind streaming setup guide links every part of the cluster in one place.
Prices are US retail, checked 25 September 2026, and will change. SetupFind has not bench-tested these products; figures come from manufacturer specifications and named sources, as set out in how SetupFind researches its recommendations. Some links may earn a commission at no extra cost to you (affiliate disclosure).
Straight answers
What do I need to start streaming on Twitch?
You need a computer or console that runs your game, a microphone, a free Twitch account and streaming software such as OBS Studio, which is free and open source. A webcam and light are optional for a first stream. A four-item starter kit of mic, webcam, light and headphones cost $318.97 at US retailers in September 2026.
Can I stream on Twitch with just a laptop or a console?
Yes. A laptop that runs your game and OBS without stutter can stream using its built-in webcam and a headset microphone. Consoles can broadcast directly or through a capture card and PC. Start at 720p and 30fps, which Twitch's Broadcasting Guidelines put at 3,000 kbps (read September 2026).
How many followers do you need to become a Twitch Affiliate?
Twitch requires 25 followers for Affiliate, according to its Affiliate Program help page (read September 2026). Within 30 days you also need 4 hours of streaming, broadcasts on 4 different days and an average of 3 concurrent viewers. Two-factor authentication must be switched on before onboarding can begin.
How do I test a stream before going live?
Use Start Recording in OBS instead of Start Streaming, switch through every scene for about ten minutes and watch the file back with headphones. Check that your voice sits above game audio, there is no echo and no frames are dropped. Then run one short unlisted or quiet-hour broadcast to confirm your connection carries it.
What OBS settings should a beginner use?
Twitch's Broadcasting Guidelines (read September 2026) recommend constant bitrate, a 2-second keyframe interval and AAC audio at 96 kbps, with 160 kbps as the maximum. A safe first video setting is 720p at 30fps and 3,000 kbps. Move up to 1080p only after a test stream runs without dropped frames.